
I was pretty excited to see the release of vRealize Suite Lifecycle Manager (or vRSLCM – try saying it after a couple of beers…) version 1.0 a couple of weeks ago. For the last few years lifecycle management and ensuring interoperability has been a big part of my role as a Cloud Architect and given an ever increasing number of products it’s something that has caused many a headache!
For those using VMware Cloud Foundation, SDDC Manager has been around for a while enabling automation and patching of products in the SDDC stack but until now there has been nothing for tailored SDDC deployments.
vRSLCM comes as a pre-packaged appliance running Photon OS as is the way these days which makes it pretty straight-forward to deploy. The appliance consumes a reasonable chunk of memory but nothing too onerous.

Once deployed the appliance is administered through a URL – note the default login credentials are admin@localhost and vmware – which you’ll be prompted to update after logging in.

Once logged in there are a couple of things to do. First of all, add your data center(s) which is done by selecting Manage Data Centers from the navigation menu.

From there you can add a data center and specify any vCenters associated with that data center from the Manage vCenters tab.

The next task is to tell vRSLCM where it can find any product OVA files (vRA, vROps etc.) from the OVA Configuration tab within Settings. There are a couple of options here; either you can specify a local source location such as an NFS share or on the appliance itself…

…or you can use your My VMware account (note you’ll first need to add your credentials on the My VMware tab) after which you can download whichever products you want to deploy (assuming that you’re entitled to download them).

Now that’s out of the way, hopefully we should be able to deploy something (or import if it already exists). On the home page there is the option to Create Environment (there’s either a wizard or you can use a JSON file) or Manage Environment (i.e. upgrade or patch).

Here I’m choosing Create Environment and then the wizard option which then allows me to select the target data center that was created previously and which products or solutions I want to deploy.
Solutions I think is the most interesting as it allows us to deploy a package of products based of VMware Validated Designs (more on that here). It should be noted that NSX is not currently part of this release of vRSLCM, though hopefully it won’t be too long before it is.

Unfortunately a full VVD install is a little ambitious for my lab so, reluctantly, I’m going to opt for something a little more modest! On the Products tab individual products can be deployed to various reference architectures. So in the case of vROps I can select a small deployment and hit Create Environment.

After that there is a pretty straight-forward wizard to navigate to collect things like licensing and network information and that’s it – submit!

The request can then be tracked from the Requests page.

After a while (and after having manually tweaked the resources down from 16 vCPU and 48GB RAM – interestingly it seems to deploy a large node by default and not give the option to change at this point) the process completes and I have a working vROps instance.
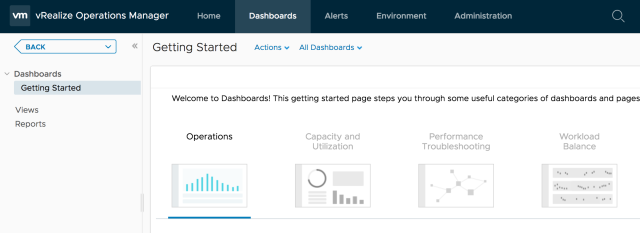
Switching back to vRSLCM, specifically the Manage Environments tab, my vROps deployment has now appeared. If I click View Details there are a number of actions available to perform.
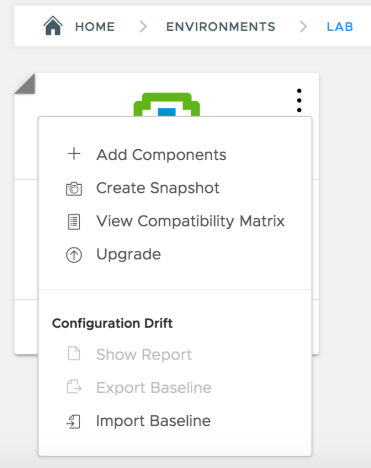
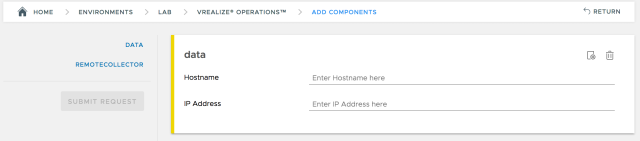
Add Components allows me to expand my deployment by adding components – in my case additional data nodes or remote collectors.
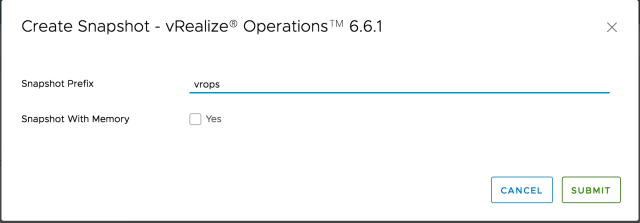
Create Snapshot creates a vSphere snapshot.
View Compatibility Matrix displays a long list of products and versions which are compatible with this deployment.

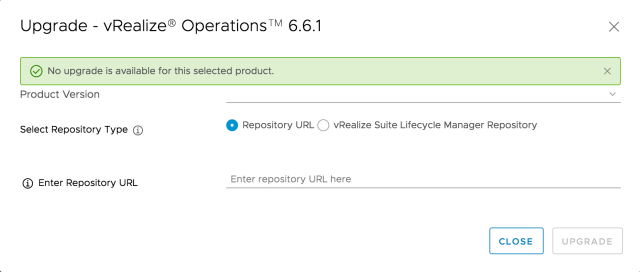
Upgrade displays available upgrades. Unsurprisingly I don’t have any but this is something I intend to look at next.
The final options are around configuration drift. Essentially you can save the configuration for your environment and monitor deviations from that baseline over time.
So first impressions are that it looks like it could be a useful tool for making deployment and management of large environments more straight-forward and easier to standardise, particularly as new features are added in future releases.
The Installation and Management guide can be found here.

Pingback: First Look at vRealize Suite Lifecycle Manager | Cloud Astronaut
Pingback: Newsletter: October 14, 2017 | Notes from MWhite